inspire:

lawn

landscape

educate:

Blog Home

Blog

garden

home

fashion

empower:

projects

community

We are dedicated to Inspiring, Educating and Empowering women to roll up their sleeves and get their hands dirty!
FAWN + HEATHER

4 Simple Tips for Laying Mulch

Educate
Those Plant Ladies

Can you smell the fresh mulch right now? You know that good smell we’re talking about. We all love the even, clean, uniform look that a good mulch gives to our landscapes but we also know mulch provides our plants with some amazing benefits too! It’s a garden task that seems so simple but, if done incorrectly, can really cause problems for your landscape plants. Here are a few of the basic tips to spreading mulch correctly. 

Mulch provides our plants with some amazing benefits.

  1. Choose the correct mulch for the job. In general, you can’t go wrong with a shredded bark mulch. We often like to select a mulch that’s dyed black or dark brown but it really depends on the aesthetics of your home!

2. Keep mulch around 3-4” deep. If mulch is already present in the site, measure the depth of the existing mulch to ensure that your new mulch does not get applied too deeply. Too much mulch can make it hard for rain and other water to reach the soil and the plant roots in that soil. 

  • Pro tip: If you have old mulch that’s already deep enough but you’re looking for that freshly mulched, uniform look, just remove some of the old mulch. Scoop some off with a flat-edged shovel and discard it before laying your new mulch down. 
Members of Those Plant Ladies removing old mulch at an installation job site.

3. Keep mulch 6-8” away from the plant material. DO NOT place the mulch against the trunk or stems of your plants. Trunks and stems are not made to be buried and that goes for mulch too! These trunks and stems will rot and the plant may die completely. 

  • Pro tip: If your old mulch is against the trunks and stems of your plant, it’s not too late! Get out your shovel or hand trowel and simply pull the mulch away from the plant.
An example of donut mulching at an installation for Those Plant Ladies.
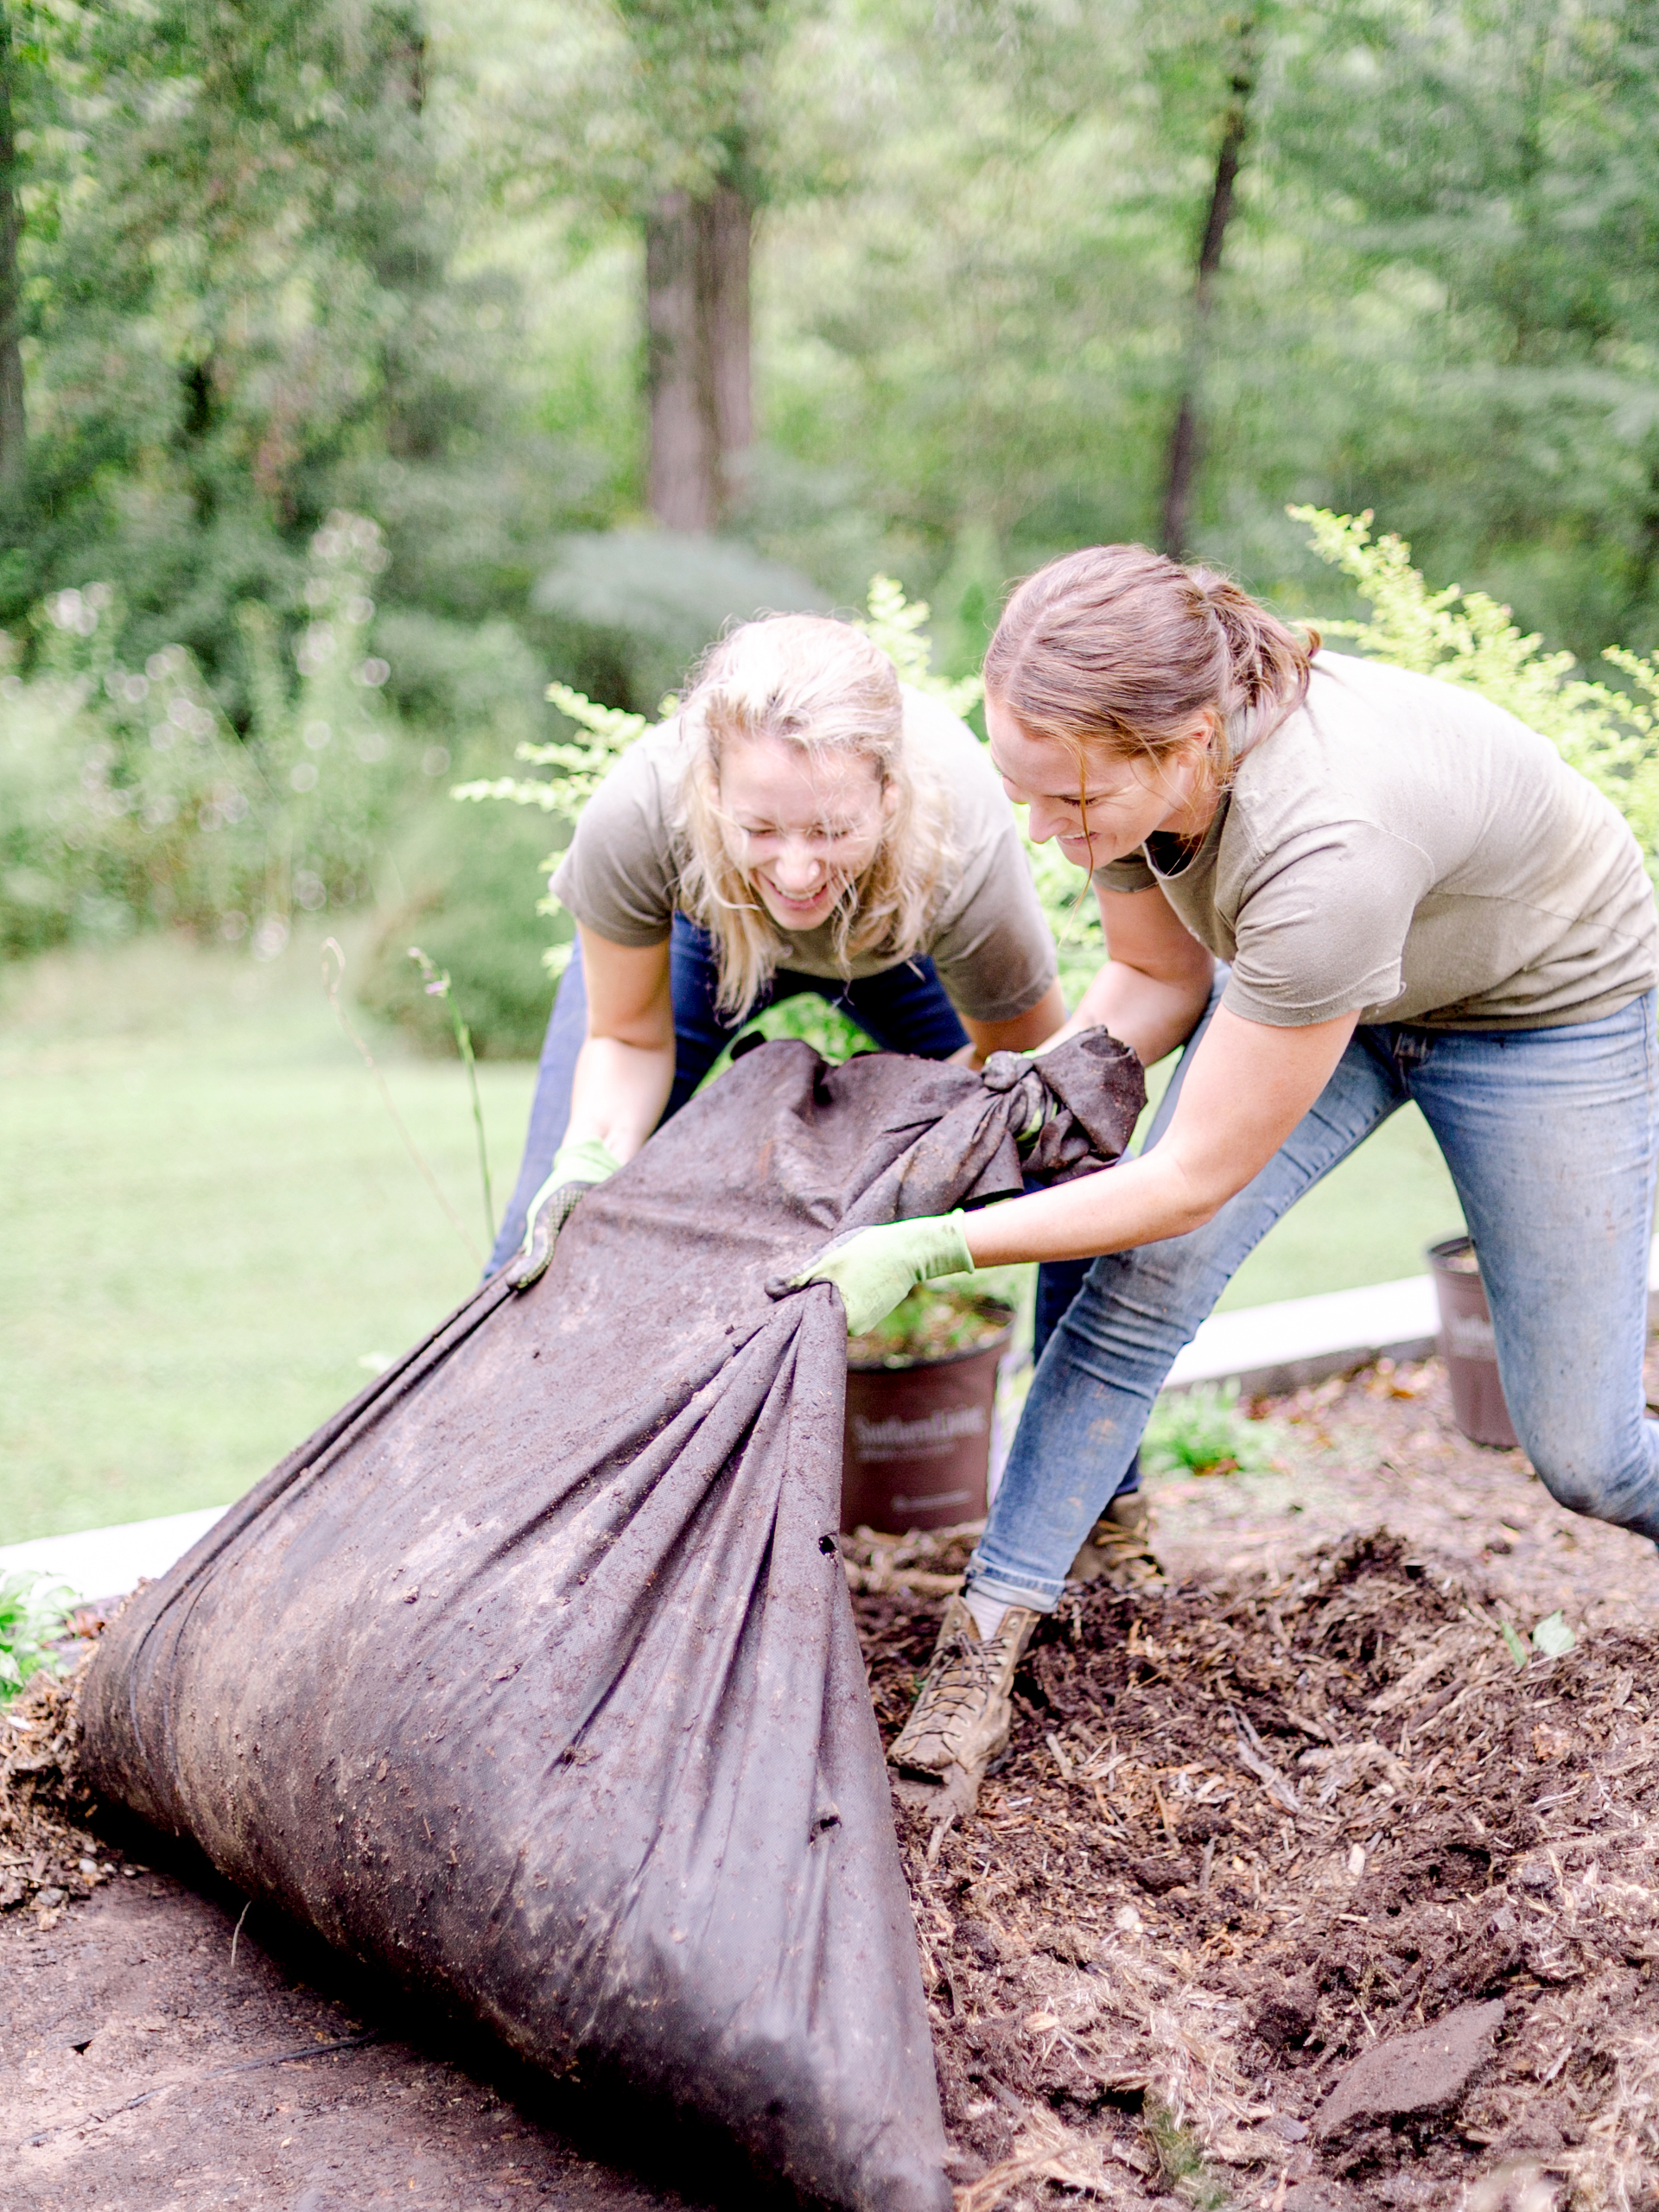
A member of Those Plant Ladies spreading mulch at an installation.

4. Be a donut mulcher, not a volcano mulcher. Think of your mulching as a donut. We want to surround our plants but leave a hole in the middle where the plant is planted. Often, we see mulch volcanoes, where the mulch is piled up on tree trunks like a tall volcano with a tree poking out of the top. This isn’t correct and your plants won’t like you. Everyone likes donuts, including your plants. Give them donuts! (Can you tell we are a bit passionate about this?!)

An example of mulch around a tree at an installation site for Those Plant Ladies.

With these simple tips, we’re sure you’ll get it right!

Infographic with 4 Simple Tips for Laying Mulch by Those Plant Ladies.

4 Simple Tips for Laying Mulch

Educate, Landscape

Can you smell the fresh mulch right now? You know that good smell we’re talking about. We all love the even, clean, uniform look that a good mulch gives to our landscapes but we also know mulch provides our plants with some amazing benefits too! It’s a garden task that seems so simple but, if done incorrectly, can really cause problems for your landscape plants. Here are a few of the basic tips to spreading mulch correctly. 

Mulch provides our plants with some amazing benefits.

  1. Choose the correct mulch for the job. In general, you can’t go wrong with a shredded bark mulch. We often like to select a mulch that’s dyed black or dark brown but it really depends on the aesthetics of your home!

2. Keep mulch around 3-4” deep. If mulch is already present in the site, measure the depth of the existing mulch to ensure that your new mulch does not get applied too deeply. Too much mulch can make it hard for rain and other water to reach the soil and the plant roots in that soil. 

  • Pro tip: If you have old mulch that’s already deep enough but you’re looking for that freshly mulched, uniform look, just remove some of the old mulch. Scoop some off with a flat-edged shovel and discard it before laying your new mulch down. 
Members of Those Plant Ladies removing old mulch at an installation job site.

3. Keep mulch 6-8” away from the plant material. DO NOT place the mulch against the trunk or stems of your plants. Trunks and stems are not made to be buried and that goes for mulch too! These trunks and stems will rot and the plant may die completely. 

  • Pro tip: If your old mulch is against the trunks and stems of your plant, it’s not too late! Get out your shovel or hand trowel and simply pull the mulch away from the plant.
An example of donut mulching at an installation for Those Plant Ladies.
A member of Those Plant Ladies spreading mulch at an installation.

4. Be a donut mulcher, not a volcano mulcher. Think of your mulching as a donut. We want to surround our plants but leave a hole in the middle where the plant is planted. Often, we see mulch volcanoes, where the mulch is piled up on tree trunks like a tall volcano with a tree poking out of the top. This isn’t correct and your plants won’t like you. Everyone likes donuts, including your plants. Give them donuts! (Can you tell we are a bit passionate about this?!)

An example of mulch around a tree at an installation site for Those Plant Ladies.

With these simple tips, we’re sure you’ll get it right!

Infographic with 4 Simple Tips for Laying Mulch by Those Plant Ladies.

Share Post

Those Plant Ladies

read & Leave a comment

Share Post

Leave a Reply

Your email address will not be published. Required fields are marked *

Explore the Blog

Dropping in with monthly inspo, strategies, and content created just for you. We're only sharing stuff we love... promise!

Let's Become

besties!

You're officially on the list and in like Flynn! See you on the inside!

Hot Damn!